Vinyl Plank Installers Guide: Skip Subfloor Headaches Forever
By Dawn Jura and Greg Roff | April 16, 2026
Installing vinyl plank flooring can seem daunting, especially when dealing with subfloor challenges. This guide streamlines the process, helping you avoid common pitfalls and ensuring a smooth application from start to finish. Understanding subfloor preparation and vinyl plank selection is crucial. By following best practices, you can transform any space with ease and confidence while achieving professional-grade results. Skilled vinyl plank installers can offer tips and techniques that save time and prevent common mistakes, making the installation process much smoother.
1. Understanding Subfloor Requirements
1.1 What is a Subfloor?
The subfloor is the structural layer beneath your finished flooring, providing support and stability. Its condition directly impacts the durability of your vinyl planks. Proper preparation prevents future issues like warping or buckling. Vinyl plank installers know that a stable subfloor is essential for high-quality results.
1.2 Types of Subfloor Materials
Common subfloor materials include plywood, oriented strand board, and concrete. Each has pros and cons: concrete is moisture-resistant, plywood offers smoothness and insulation, and OSB is cost-effective but less durable against moisture. Selecting the right material enhances installation success and long-term performance.
1.3 Testing Moisture Levels
Moisture can damage vinyl planks, causing warping or bubbling. Use hygrometers or calcium chloride tests for accurate readings. Installing moisture barriers and following proper moisture guidelines ensures long-lasting, damage-free flooring. Vinyl plank installers frequently address moisture concerns to minimize issues post-installation. Taking extra time to test thoroughly helps prevent costly repairs later.
1.4 Recognizing and Repairing Damage
Check for sagging, cracks, or unevenness before installing vinyl planks. Repairing these issues prevents long-term complications. According to Future Market Insights' Vinyl Flooring analysis, vinyl plank installers report 6.5% annual market growth through 2035, addressing 70% of consumer complaints about uneven subfloors through floating installations. Fixing damage beforehand ensures a smooth and stable installation. Proactively repairing small imperfections saves time and improves the final aesthetic.
1.5 Subfloor Leveling Techniques
Leveling prevents gaps and stress points. Self-leveling compounds smooth concrete, while shims or sanding adjust wood surfaces. Floating installation methods are popular for addressing uneven subfloors efficiently. Proper leveling saves time, reduces complaints, and supports the longevity of your vinyl planks. Experienced vinyl plank installers emphasize this step, knowing a well-leveled subfloor directly impacts the final product’s durability and appearance.
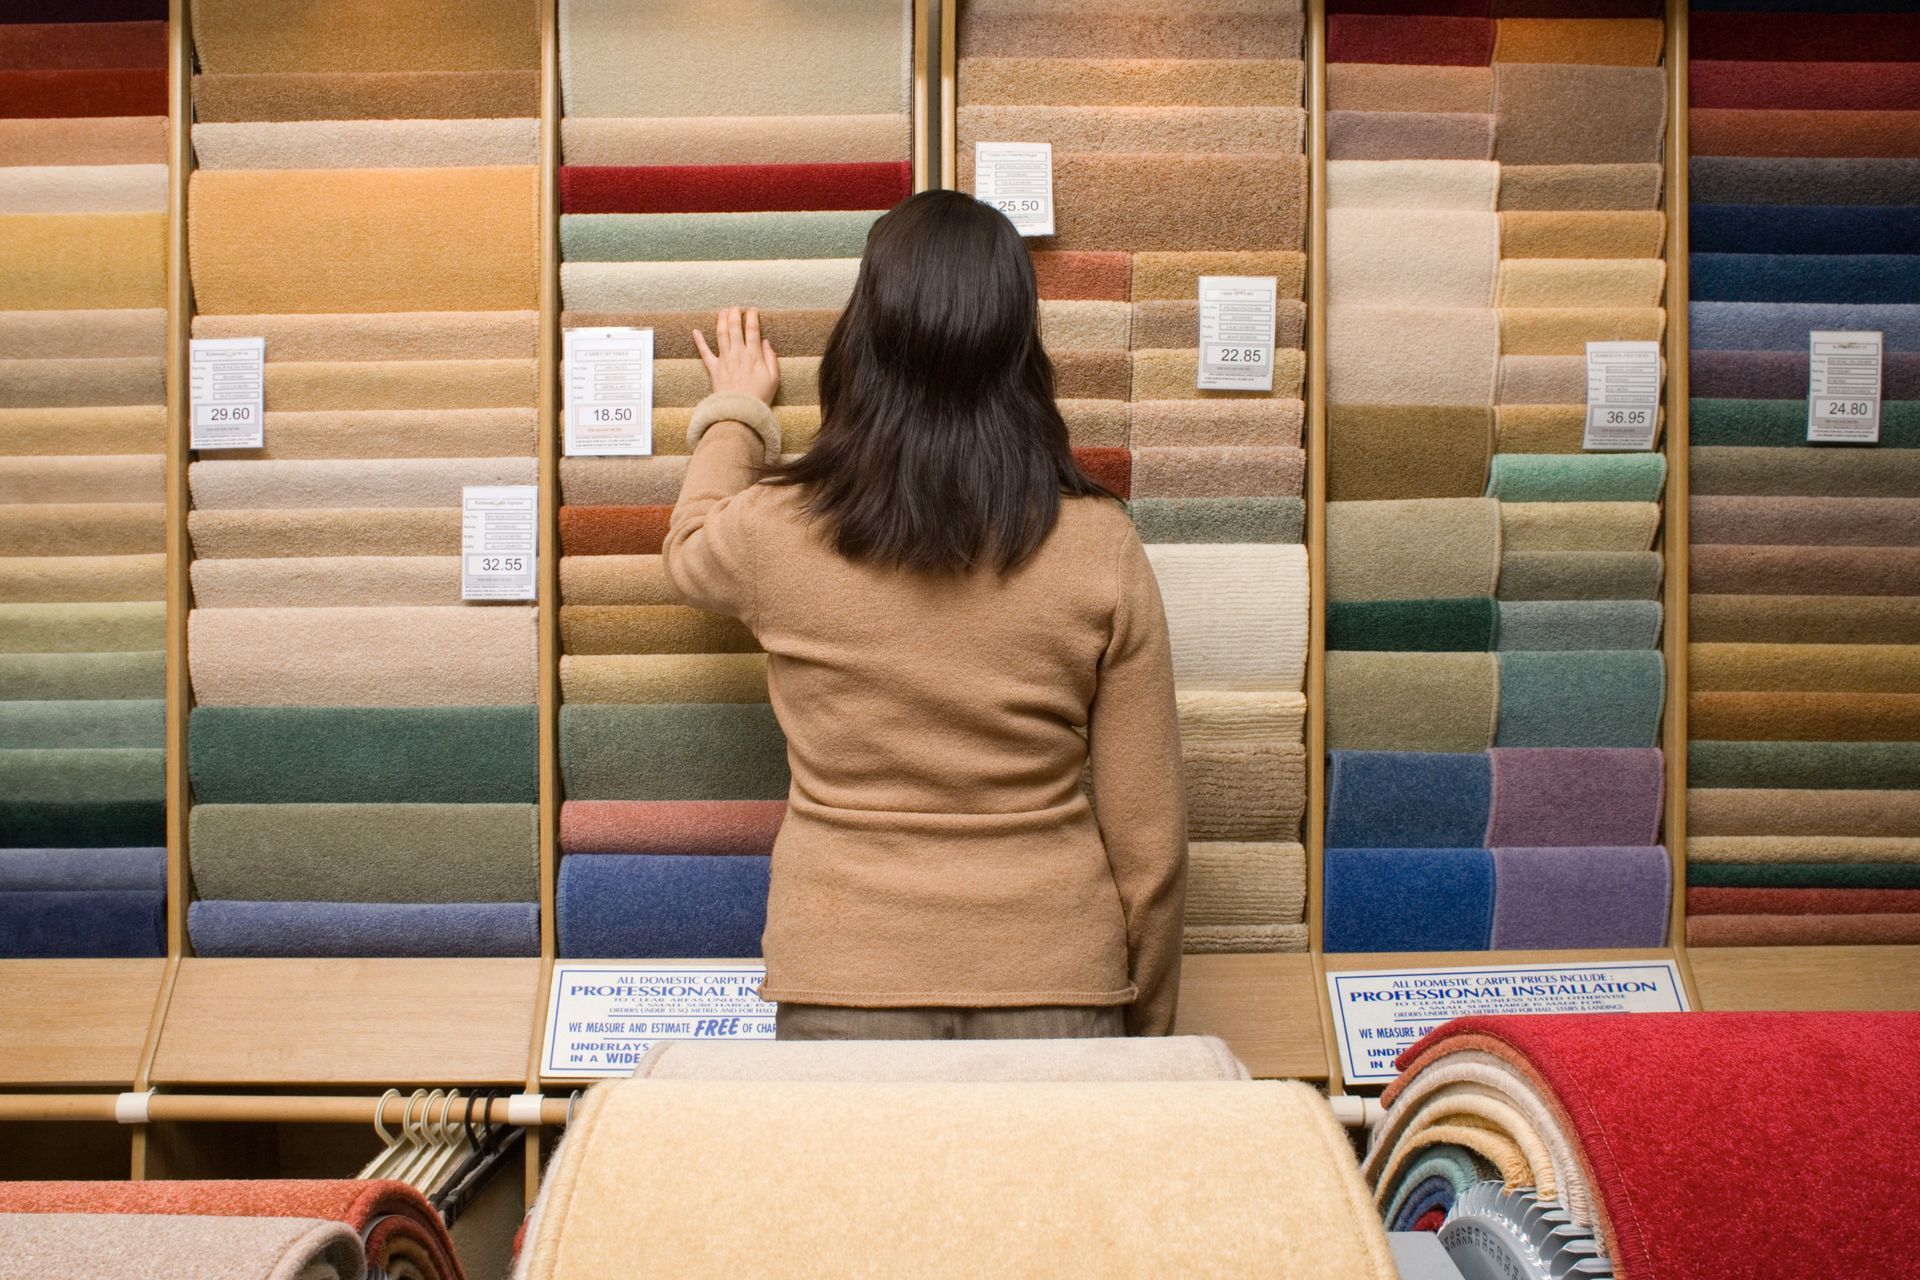
2. Selecting the Right Vinyl Plank Materials
2.1 Vinyl Plank Types
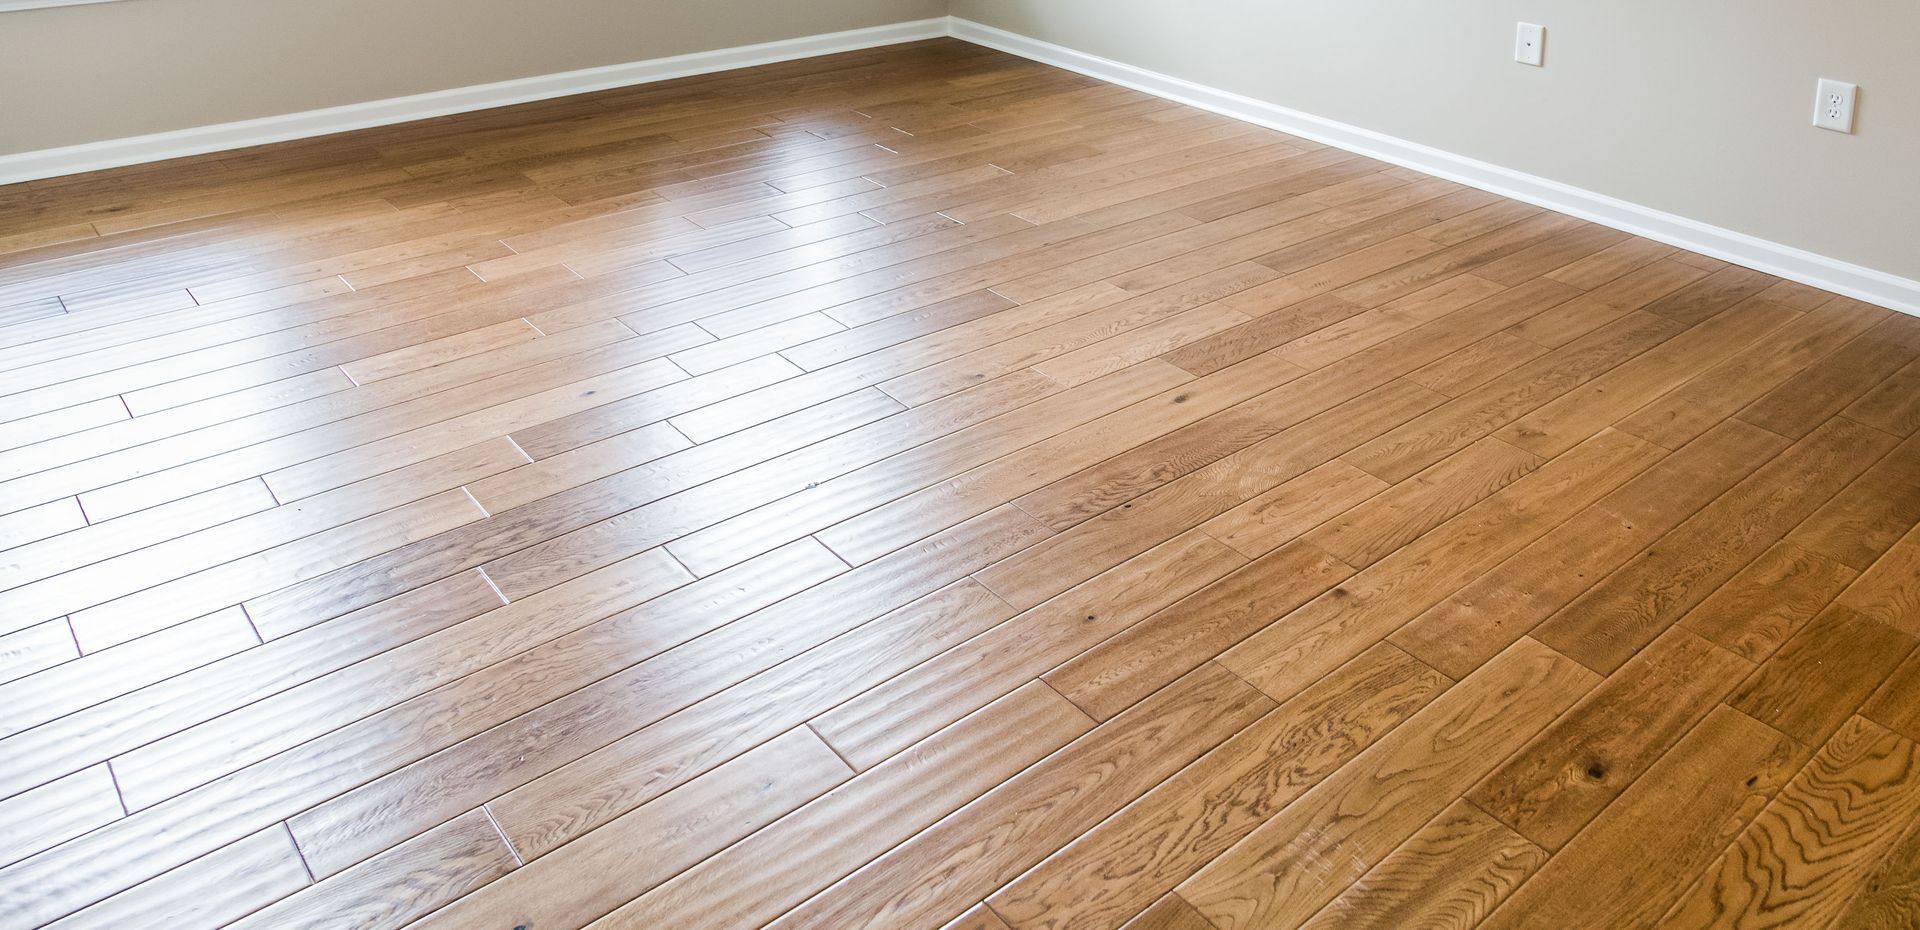
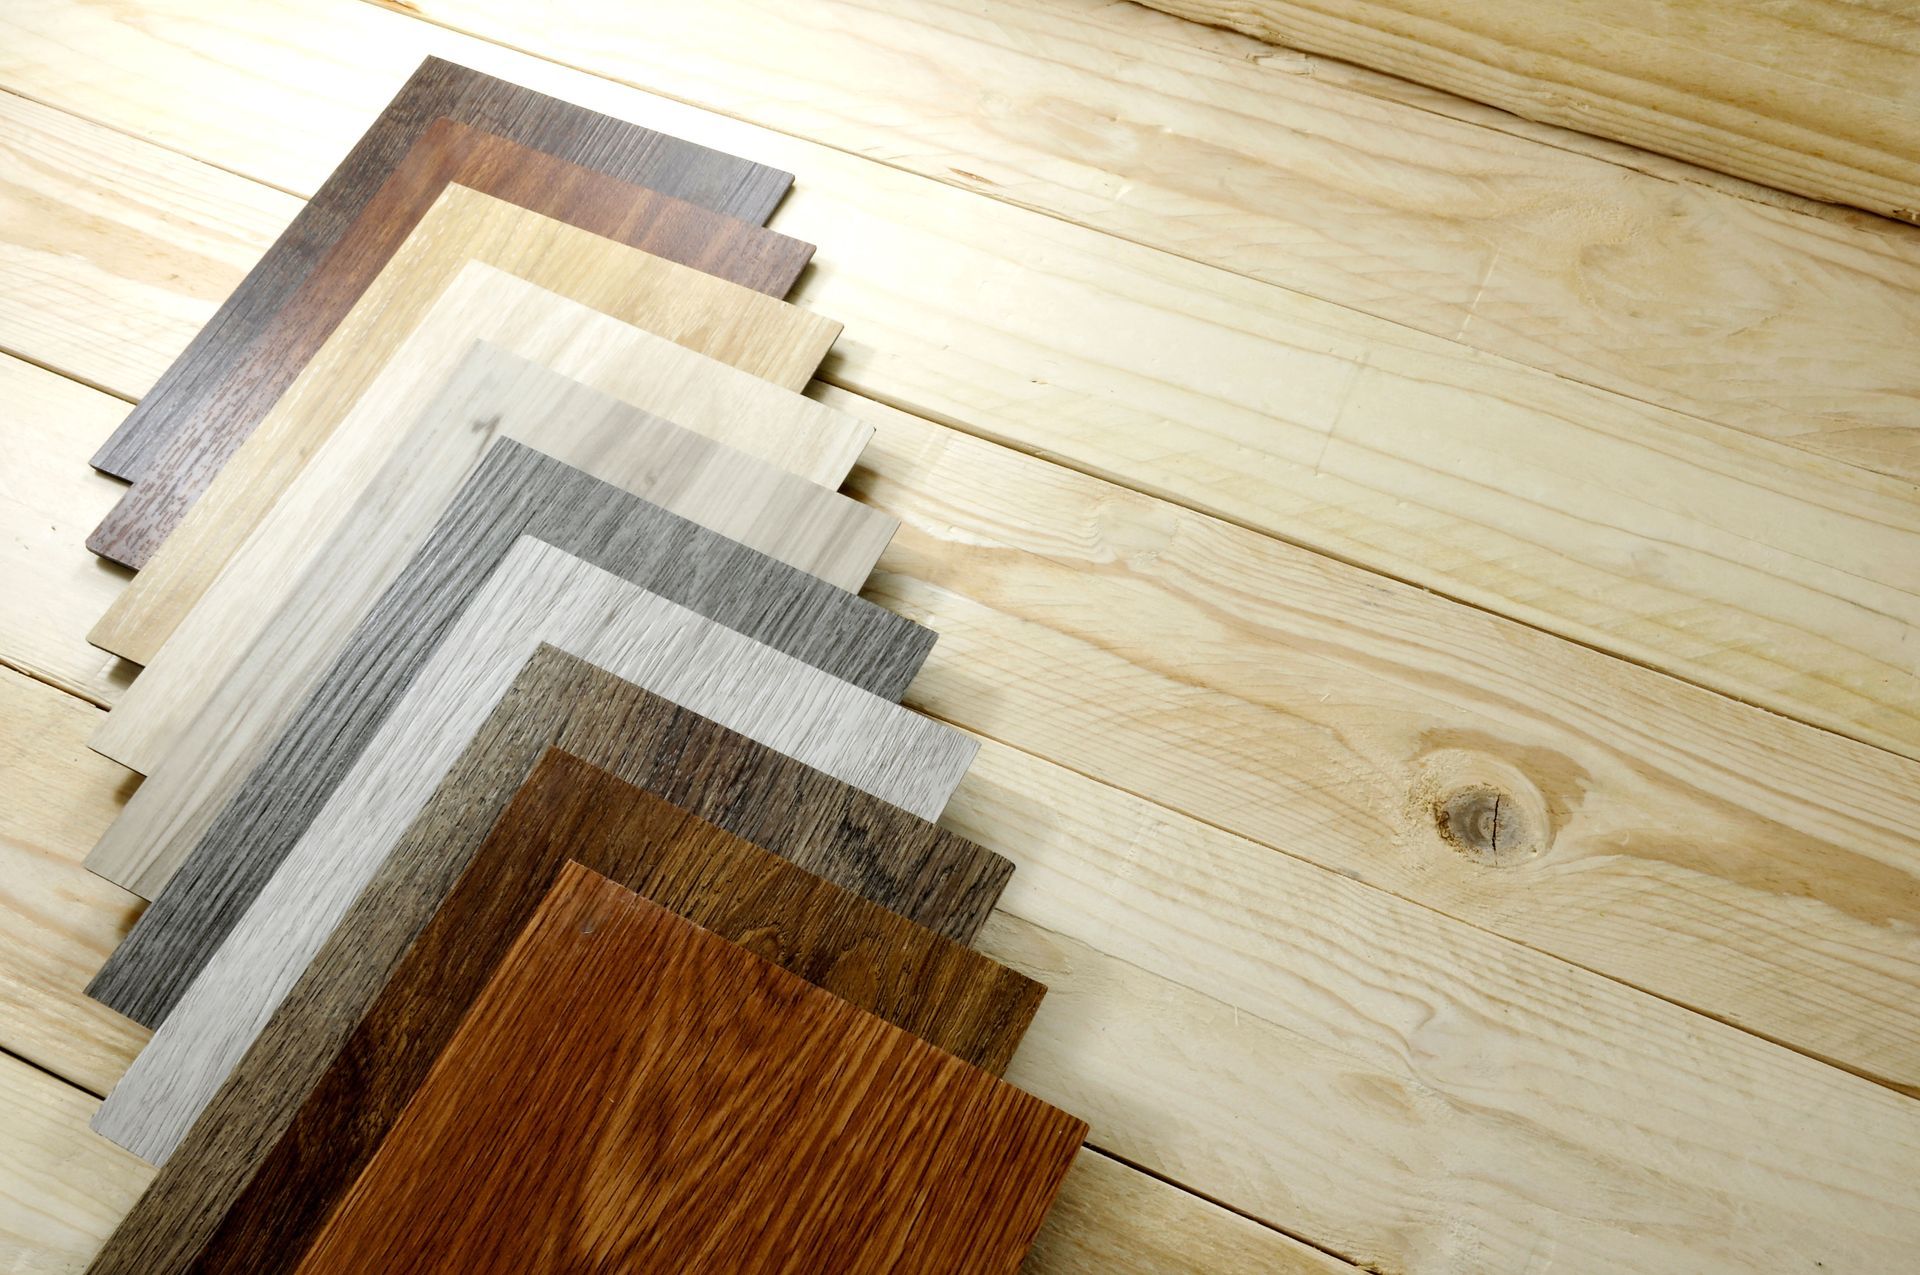
Luxury vinyl tile (LVT) and luxury vinyl plank (LVP) mimic natural materials with varying flexibility and moisture resistance. LVT is ideal for kitchens and bathrooms, while LVP adds elegance to living spaces. Vinyl plank installers tailor their choices to the environment, ensuring both aesthetics and functionality. Knowing the differences helps avoid unnecessary repairs and keeps the flooring looking new longer.
2.2 Balancing Quality and Cost
Consider thickness, wear layer, and durability when balancing quality and cost. High-quality vinyl reduces maintenance and extends flooring life. Strategic choices allow you to maximize value while staying within budget. Vinyl plank installers help clients navigate these trade-offs effectively. Sometimes paying slightly more upfront results in lower long-term costs and a more resilient floor.
2.3 Durability Considerations
Durability is essential for high-traffic areas. Core material, wear layer thickness, and installation method influence longevity. Choosing durable planks reduces repair frequency and maintains appearance over time. Experienced vinyl plank installers emphasize long-lasting materials to protect your investment. This ensures floors can handle daily wear without compromising quality or aesthetics.
2.4 Environmental and Health Impacts
Opt for low-VOC, eco-friendly vinyl products to minimize indoor air quality concerns. Certifications like FloorScore or GreenGuard indicate health-conscious choices. Sustainable and low-emission options provide a safer environment while maintaining flooring performance. Vinyl plank installers increasingly recommend environmentally responsible products to homeowners concerned about indoor air quality and sustainability.
2.5 Color and Design Options
Modern vinyl planks replicate wood, stone, and tile, offering extensive design versatility. Consider room size, lighting, and style when selecting colors and patterns. Matching aesthetic needs with functional requirements ensures cohesive, visually appealing spaces. Vinyl plank installers can advise on patterns that minimize visible seams and enhance overall design.
3. Preparing Your Space for Installation
3.1 Room Measurement and Layout
Accurate measurements and layout planning prevent waste and ensure proper plank placement. Map corners, doorways, and irregular shapes to anticipate challenges. Proper planning is a step that vinyl plank installers rely on for flawless installation. Additional planning ensures that any cut planks fit precisely, reducing material waste and time spent adjusting on site.
3.2 Clearing and Cleaning the Area
Remove furniture, appliances, and decor to provide unimpeded access. Sweep, vacuum, or damp mop the subfloor to eliminate debris. A clean workspace prevents complications and ensures proper adhesion for glued-down installations. Vinyl plank installers often recommend a double-check of cleanliness, especially in older homes, to avoid hidden debris that could create unevenness.
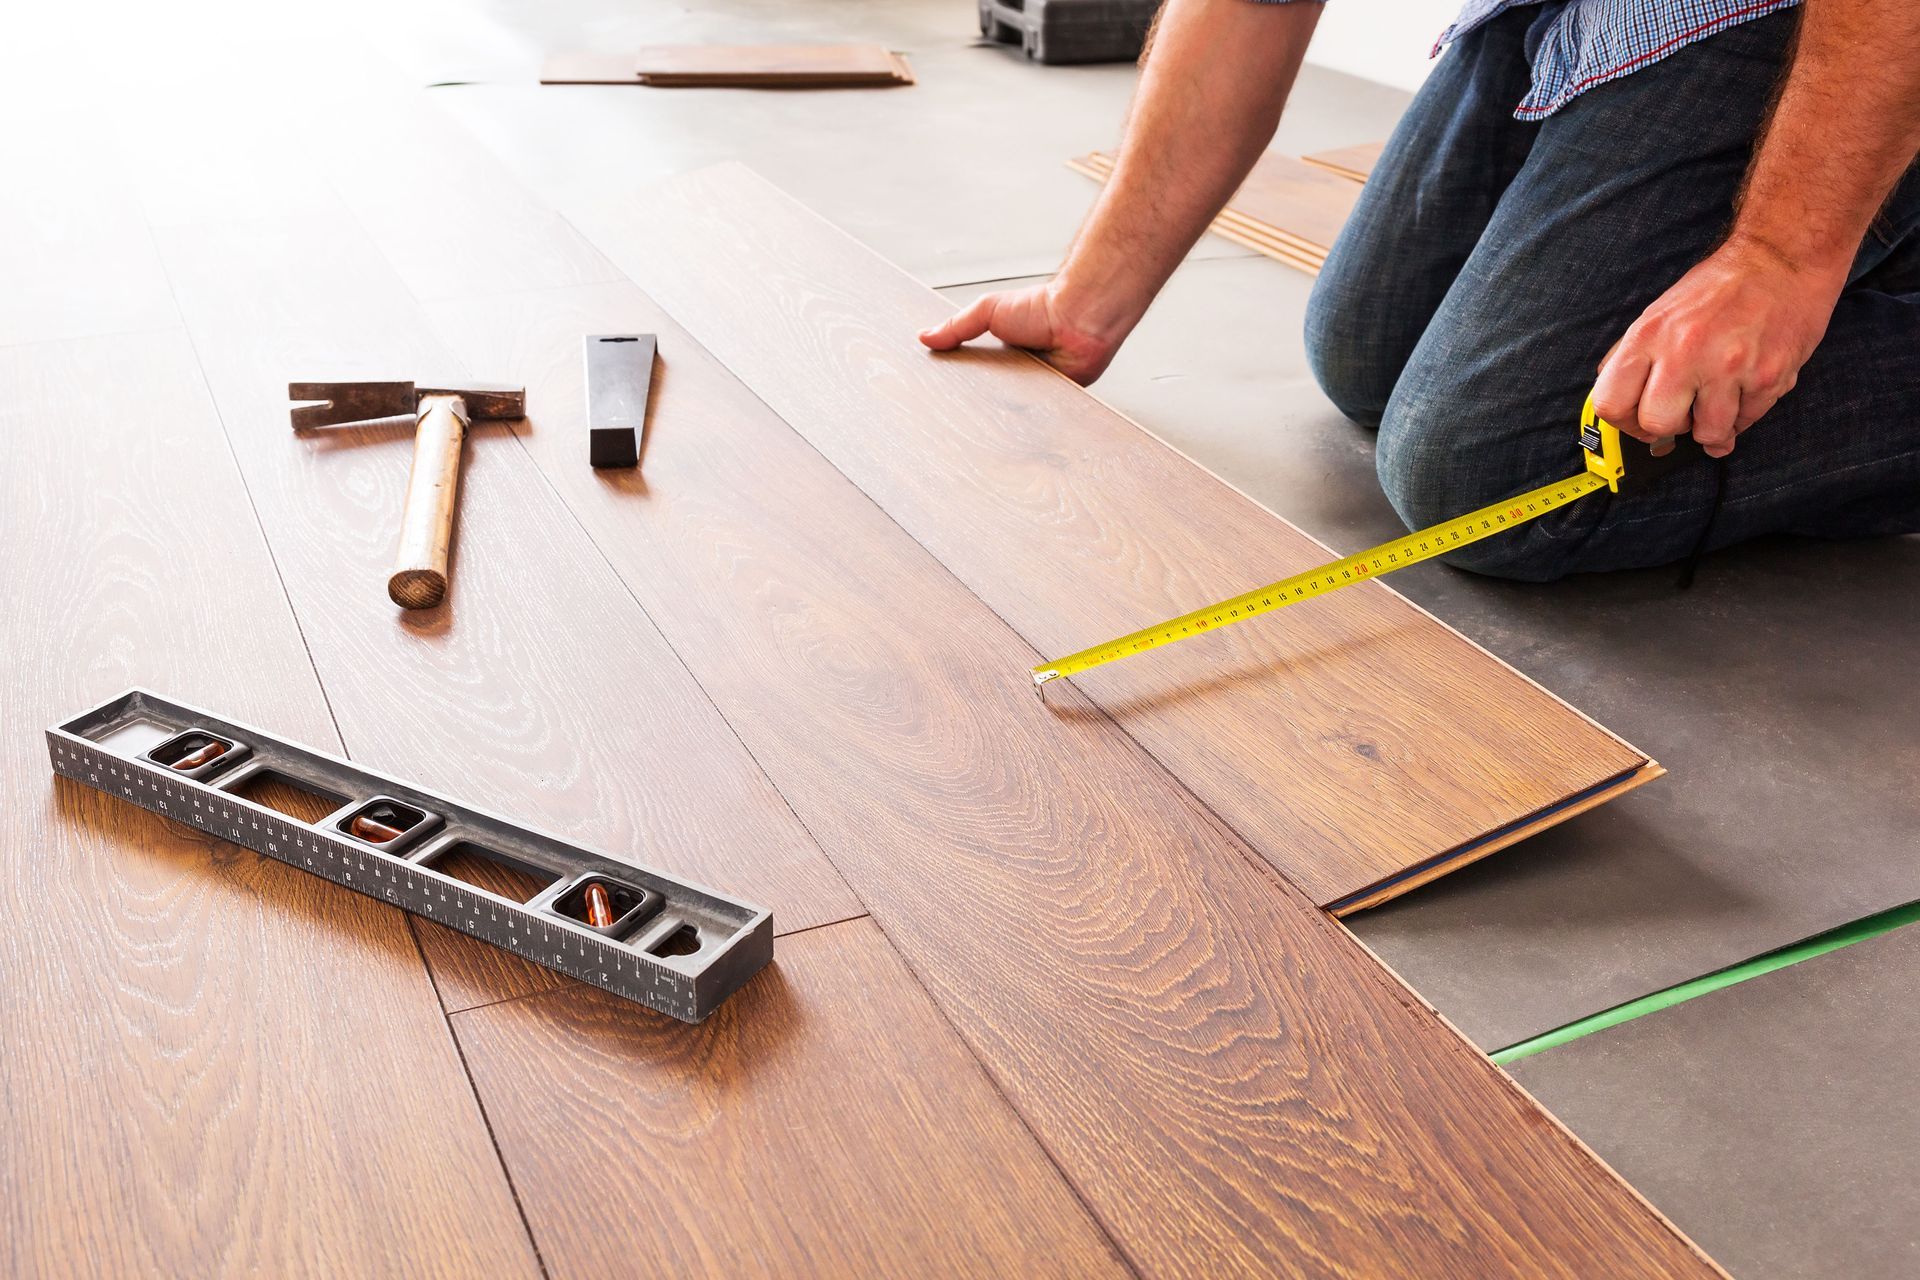
3.3 Tools and Materials
Essential tools include tape measures, utility knives, tapping blocks, pull bars, adhesives, and underlayment. Advanced tools like laser measures and software aid precision. Vinyl plank installers use these tools to guarantee accurate and efficient installation. Proper tools help reduce installation errors and improve overall floor quality.
3.4 Checking Door and Molding Clearance
Ensure doors swing freely, and moldings don’t interfere with plank placement. Adjustments prevent obstruction and allow for seamless finishes. This step helps maintain professional-looking results while avoiding post-installation issues. Vinyl plank installers often guide the minimal trimming required to preserve baseboard aesthetics.
4. Installation Techniques
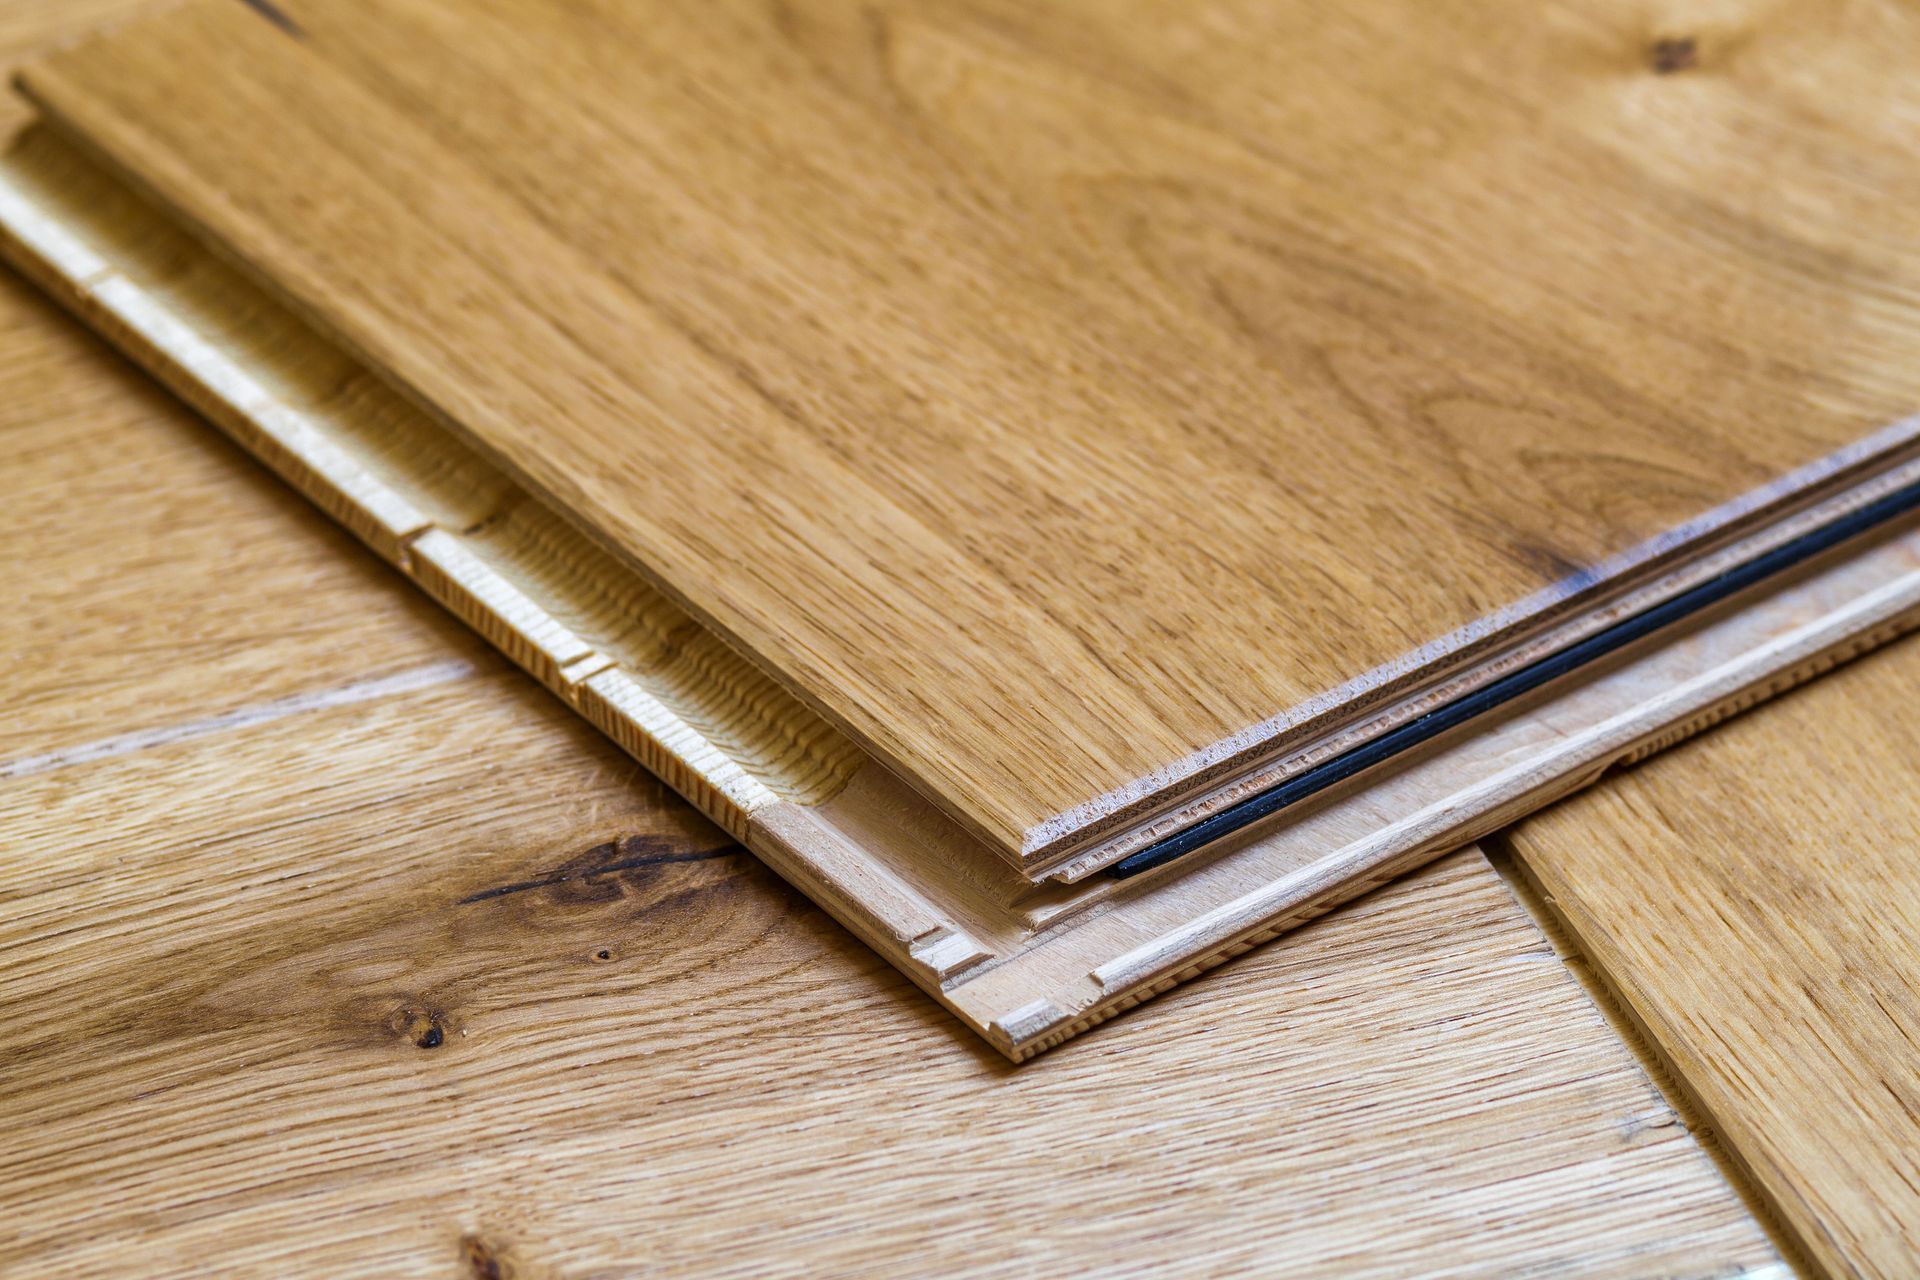
4.1 Floating vs. Glue-Down Installation
Floating installations allow planks to sit above the subfloor, resolving minor unevenness. Glue-down methods create a more permanent bond, ideal for areas needing extra stability. Vinyl plank installers choose methods suited to the space, subfloor, and product type, ensuring long-term durability.
4.2 Staggering and Alignment
Stagger plank seams to avoid weak points and enhance visual appeal. Align planks properly to prevent gaps and uneven edges. Following precise layouts ensures durability and an aesthetically pleasing floor. This method is standard practice among professional vinyl plank installers.
4.3 Cutting and Fitting Planks
Use utility knives or saws for accurate cuts around obstacles and walls. Take careful measurements to reduce material waste. Vinyl plank installers focus on clean cuts and precise fitting for a professional finish.
4.4 Final Touches
Install transition strips, baseboards, and moldings to complete the look. Inspect for gaps, loose edges, or uneven areas. A thorough final check ensures long-lasting and visually appealing results. Experienced installers often perform a post-installation inspection to catch any minor adjustments needed before project completion.
5. Maintenance and Longevity
5.1 Cleaning and Care
Regular sweeping, vacuuming, and damp mopping maintain the flooring’s appearance. Avoid abrasive cleaners and excess water to prevent damage. Proper care prolongs the life of vinyl planks and maintains a polished look.
5.2 Preventing Damage
Use furniture pads and rugs in high-traffic areas to prevent scratches and dents. Address spills promptly to avoid staining. Following these practices minimizes repair needs and keeps the floor in top condition.
5.3 Professional Assistance
Consult vinyl plank installers for repairs or renovations to ensure expertise and safety. Professionals provide insights into material longevity and optimal maintenance, preserving your investment. Even minor maintenance guidance from experienced installers can extend your flooring’s lifespan and prevent costly errors.
Proper subfloor preparation, material selection, and careful installation are keys to a successful vinyl plank flooring project. These steps reduce headaches and ensure durable, attractive results. Vinyl plank installers play a pivotal role in guiding these processes, offering expertise that ensures smooth, professional finishes. By understanding subfloor requirements, selecting quality materials, and following precise installation methods, you can enjoy beautiful, long-lasting vinyl floors that enhance any space. Incorporating professional advice early in the project ensures fewer mistakes and maximizes satisfaction with your final flooring investment. For more information, contact Pro Flooring today!


Share On: